
At LED Mirror World, we regularly help customers understand what hardwired installation involves, how to prepare properly, and when professional support is recommended. This guide explains the full process step by step, focusing on safety, planning, and realistic expectations for UK homes.
Key takeaways
- Hardwired LED mirrors create a clean, cable-free finish
- Planning the mirror position and power supply is essential
- Electrical safety checks must always come first
- Larger mirrors require secure wall fixings
- Professional installation is often recommended
What does hardwired installation mean
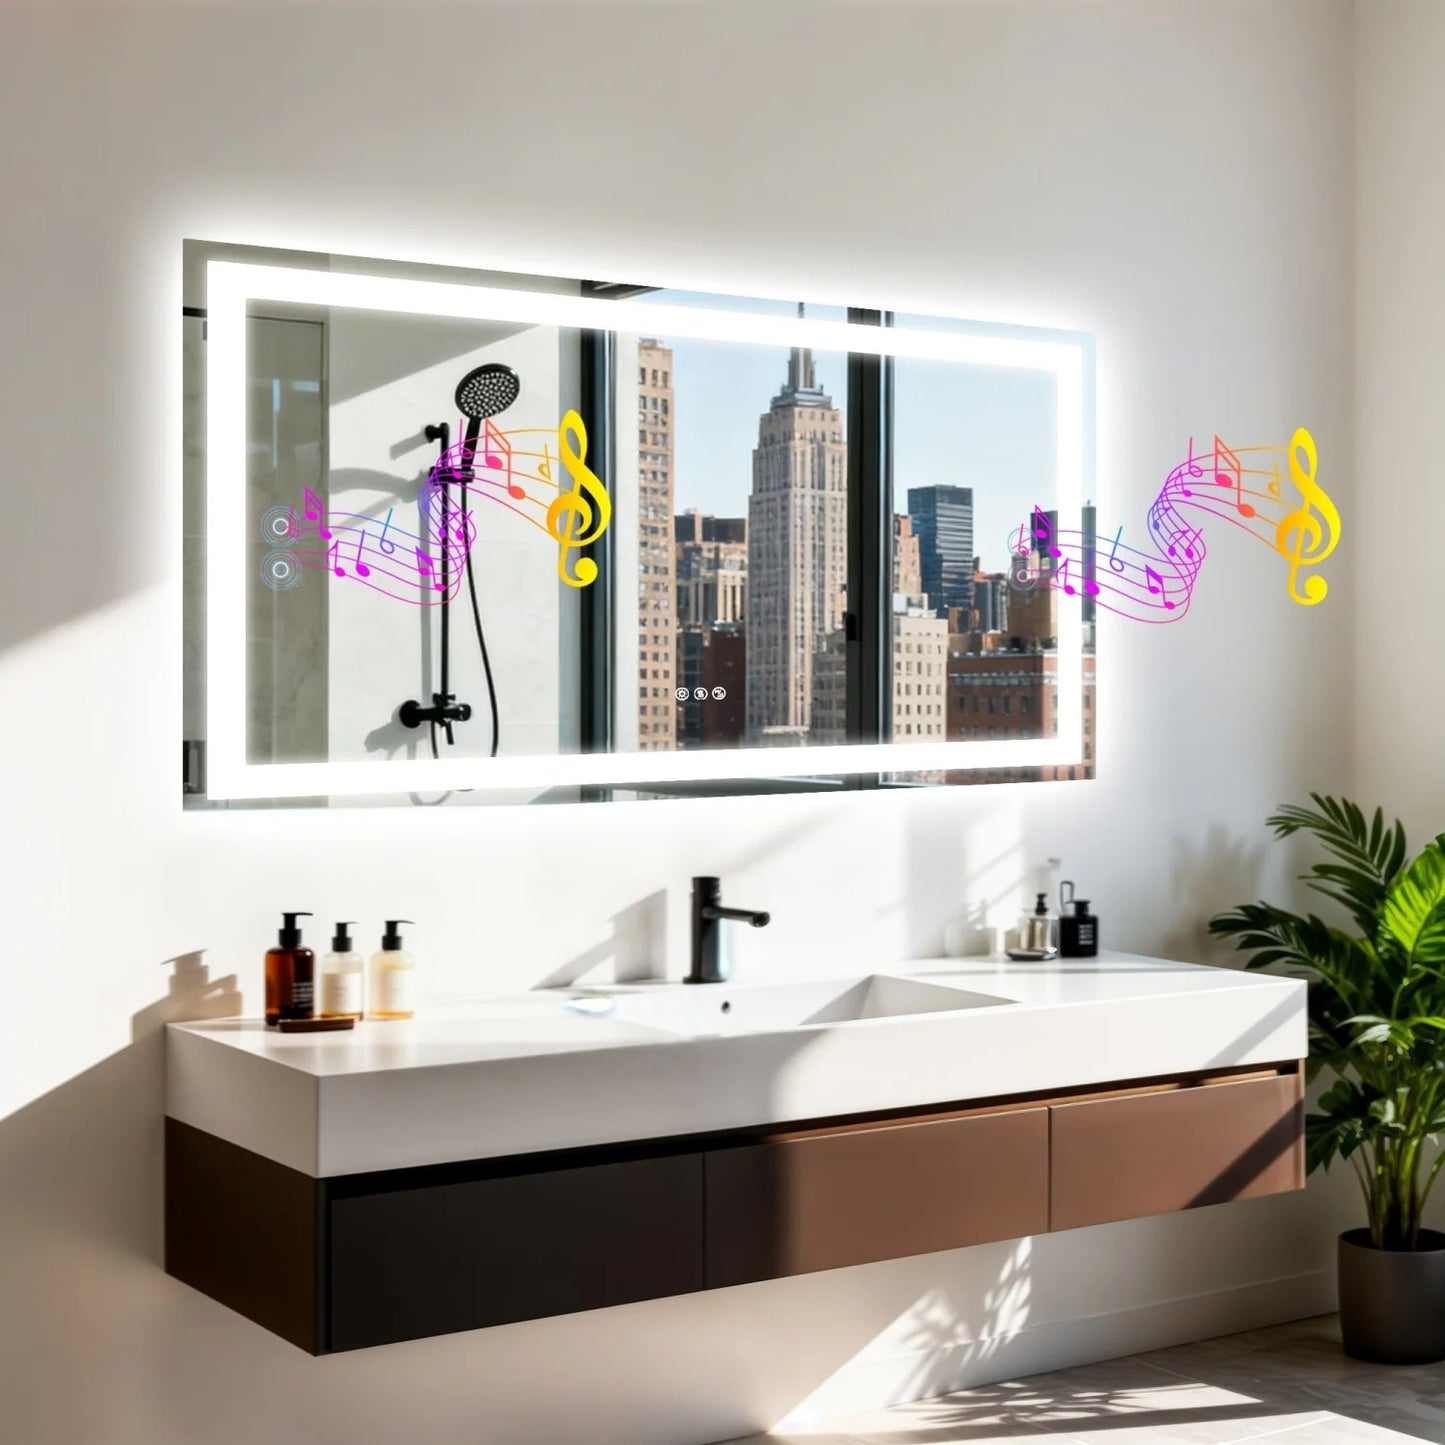
A hardwired LED bathroom mirror is connected directly to your home’s electrical supply rather than using a plug socket. The wiring is concealed behind the wall or routed through the rear of the mirror, creating a seamless appearance.
Most hardwired mirrors from LED Mirror World are designed to operate via a wall switch, touch sensor, or a combination of both, depending on the model and setup.
If you are still deciding between power types, our guide on how LED mirrors get their power explains the differences in simple terms.

Tools and preparation before you start
Before installation begins, it is important to have everything ready. Preparation reduces mistakes and helps the process run smoothly.
You may need:
- A drill with suitable wall bits
- Spirit level and measuring tape
- Wall plugs and screws rated for the mirror’s weight
- Screwdrivers
- Electrical tester
- Protective gloves
Always refer to the installation instructions supplied with your specific mirror, as fixing systems can vary.
Step 1: Decide on mirror placement
Correct positioning affects both comfort and safety. The mirror should be centred above the basin or vanity and installed at a height that suits the primary users.
As a general guide, many mirrors are positioned so the centre aligns roughly with eye level. Vanity height, mirror size, and user height all play a role.
Our article on choosing the right height for a bathroom mirror provides practical guidance to help you mark the position accurately.
Once you are confident, mark the outline and fixing points lightly on the wall.
Step 2: Turn off the power supply
Before any electrical work begins, isolate the circuit at the consumer unit. Never rely on a wall switch alone.
Use an electrical tester to confirm that no current is present at the connection point. This step is essential for safety.
If you are not confident working with electrical wiring, this is the stage where using a qualified electrician is strongly advised.
Step 3: Prepare the wiring point
Hardwired LED mirrors are usually connected via a fused spur or junction box behind the mirror. The cable must align with the mirror’s entry point, which is often located centrally at the rear.
Some mirrors allow flexibility in cable routing, while others require precise positioning. If you are unsure about wiring requirements, our guide on cable sizing for LED bathroom mirrors explains common considerations.
Good preparation here helps avoid visible gaps or unnecessary wall damage.
Step 4: Install the wall mounting system
Most LED bathroom mirrors include a mounting bracket or rear fixing points.
- Hold the bracket against the wall and align it with your markings
- Use a spirit level to ensure it is perfectly straight
- Drill pilot holes and insert appropriate wall plugs
- Secure the bracket firmly using screws
This step is particularly important for larger mirrors. Products from thewide mirrors for double vanities require fixings that can safely support additional weight.
Step 5: Connect the mirror wiring
With the bracket installed, connect the mirror wiring to the power supply following the manufacturer’s instructions.
This typically involves connecting live, neutral, and earth wires using approved connectors. All connections should be secure and properly insulated.
If your mirror includes features such as anti-fog or adjustable lighting, these functions are powered through the same electrical connection.
Step 6: Mount the mirror onto the wall
Carefully lift the mirror onto the mounting bracket. For safety, this step should be done with two people, especially for larger or heavier mirrors.
Once mounted, check that the mirror sits flush against the wall and locks securely into place. Use a spirit level to confirm alignment.
Avoid pressing on the glass or control areas during installation.
Step 7: Restore power and test functions
Once the mirror is fully mounted, restore power at the consumer unit.
Test all features:
- Lighting on and off
- Touch controls or wall switch operation
- Dimming or colour temperature settings
- Anti-fog function if included
If the mirror does not function as expected, our troubleshooting guide on common LED mirror power issues outlines the most frequent causes.
Step 8: Final checks and cleaning
Wipe the mirror with a soft cloth to remove fingerprints or installation dust. Check that the mirror is stable and secure.
For ongoing care, our guide on cleaning LED bathroom mirrors safely explains how to maintain clarity without damaging the surface or electronics.
Choosing the right hardwired LED mirror
Hardwired installation works particularly well with mirrors designed for a clean, architectural look.
Oursoft ambient and task lighting mirrors is popular for minimal, ambient lighting, while products such as themirrors for steamy shower routines offer enhanced visibility for everyday use.
For a frameless aesthetic, thecompare frontlit and backlit mirror styles provides a seamless finish that suits modern bathrooms.
You can explore the full range atfind mirror ideas for UK bathrooms to compare styles and features.
Final thoughts
Installing a hardwired LED bathroom mirror is a practical upgrade that delivers both visual and functional benefits. When planned carefully and installed safely, it creates a polished, integrated look that enhances the entire bathroom.
At LED Mirror World, we believe good results come from informed choices and proper installation. If you are unsure at any stage, professional advice can save time and provide peace of mind.
Need help choosing the right mirror or planning installation?
Get in touch with us via our contact page and our team will be happy to help.
Frequently asked questions
What is a hardwired LED bathroom mirror?
It is a mirror connected directly to your home’s electrical supply with no visible plug.
Is professional installation required?
It is often recommended, especially when new wiring or circuit changes are involved.
Can a hardwired mirror be connected to a wall switch?
Yes, many models are designed to work with wall switches, touch controls, or both.
How long does installation take?
Most installations are completed within a few hours, depending on wiring and wall conditions.
Are hardwired LED mirrors safe for bathrooms?
Yes, when installed correctly and according to manufacturer guidance.
Can I replace a plug-in mirror with a hardwired one?
Yes, but this usually requires electrical work behind the wall.
Do hardwired mirrors require special maintenance?
No, routine cleaning and basic care are usually sufficient.